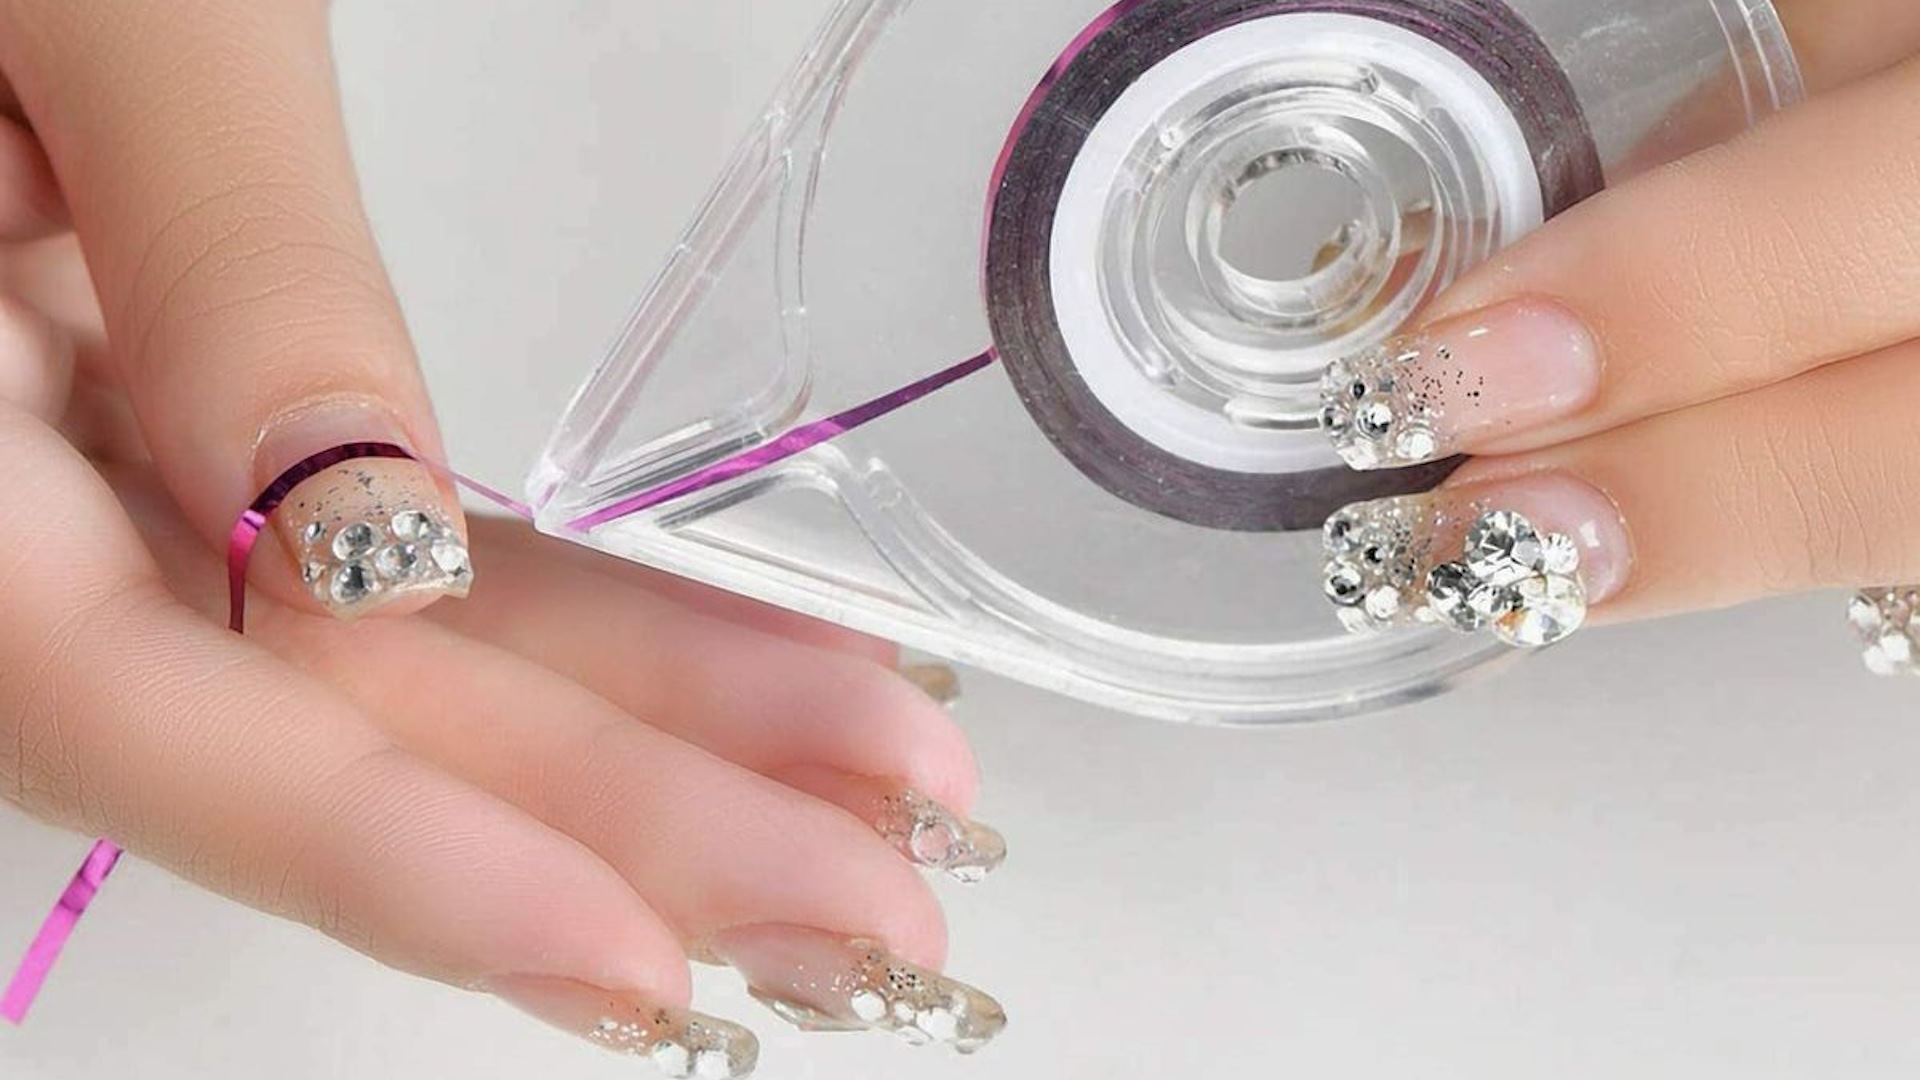
Nail art can feel a bit overwhelming, especially when you see intricate designs that look almost too good to be true. But what if I told you that achieving those clean lines isn’t as complicated as it seems? Enter nail tape—your new best friend in the world of nail design! Think of it as a painter’s tape for your nails; it helps you create crisp edges and stunning patterns without the fuss.
Benefits of Using Nail Tape
Now that you know what nail tape is, let’s talk about why you should consider adding it to your nail art toolkit.
1. Precision
When it comes to nail art, precision is everything. Clean lines can make or break your design, and nail tape is your best friend in this department. It helps you achieve sharp, straight lines without the usual hassle. Think of nail tape as a guardrail on a winding mountain road; it keeps you on track, ensuring you don’t veer off into messy territory.

2. Versatility
Nail tape is incredibly versatile. You can use it for a variety of designs, from geometric patterns to stripes and everything in between. Whether you want to go bold with bright colors or keep it subtle with pastels, nail tape can help you create whatever look you desire.
3. Time-Saving
If you’ve ever tried to paint intricate designs freehand, you know how time-consuming it can be. Nail tape saves you time by allowing you to focus on the fun part—designing! With nail tape, you can quickly create complex patterns without the stress of perfecting each line.
4. Cost-Effective
Nail tape is not only affordable but also a small investment that can elevate your nail art game significantly. For just a few bucks, you can have access to a tool that opens up a world of creativity right at your fingertips.
How to Use Nail Tape
Ready to dive in? Here’s a step-by-step guide on how to use nail tape effectively to achieve clean lines.
Gather Your Supplies
Before you get started, gather the following supplies:
- Nail tape
- Base coat and top coat
- Nail polish in your desired colors
- Scissors (if you prefer to cut the tape)
- Tweezers (optional, but helpful for precision)
Step 1: Prep Your Nails
Start by cleaning and filing your nails to create a smooth surface. Just like preparing a canvas for painting, this step is crucial for a beautiful finish. Apply a base coat to protect your natural nails and allow it to dry completely. This will serve as a foundation for your nail art.
Step 2: Apply Your Base Color
Once your base coat is dry, apply your chosen nail polish color as the base. This is where you can get creative! Let the polish dry thoroughly; otherwise, your tape may pull up the color when you remove it.
Step 3: Cut the Tape
While your base color is drying, you can cut the nail tape into the lengths you need. This step isn’t strictly necessary, as you can also tear the tape by hand, but cutting can give you a more precise measurement. Just think of it as preparing the ingredients before cooking; it makes the process smoother.
Step 4: Place the Tape on Your Nails
Using tweezers, carefully place the tape on your nails in your desired design. Make sure to press it down firmly to ensure it adheres well to the nail. If you’re using striping tape, you can create various shapes, such as diagonal lines or even zigzags.

Step 5: Paint Over the Tape
Now comes the fun part! Take your second nail polish color and carefully paint over the tape. Ensure you cover the tape completely, as this will create the sharp lines you’re aiming for. Remember, less is more; it’s better to apply a thin coat than to slather on a thick layer that might smudge.
Step 6: Remove the Tape
Here’s where the magic happens! While the polish is still wet, gently peel off the tape. This step is crucial; if you wait too long, the polish may dry and chip away. As you peel, you’ll unveil those clean, crisp lines that make your design pop.
Step 7: Finish with a Top Coat
To seal the deal, apply a top coat to protect your design and add a glossy finish. This is the cherry on top of your nail art sundae, giving it that polished look.
Tips for Successful Nail Taping
Now that you know the steps, here are some tips to ensure your nail taping experience goes smoothly:
1. Use a Quick-Drying Polish
Using a quick-drying nail polish can make a world of difference. It allows you to move faster between steps, minimizing the risk of smudging your design.
2. Experiment with Designs
Don’t be afraid to experiment! Nail art is all about creativity. Try different patterns, color combinations, and tape placements. It’s like being a kid in a candy store; the possibilities are endless!
3. Don’t Rush
While it’s tempting to rush through the process, allow adequate drying time between layers. Patience pays off in the world of nail art, and waiting can help you avoid the frustration of smudges.
4. Store Tape Properly
To keep your nail tape in good condition, store it in a cool, dry place. If the tape gets too warm, it can lose its stickiness, and nobody wants that when they’re trying to create a masterpiece.
